How to quickly say `hello world` with `three.js`

three.js is the most popular WebGL framework for front-end developers. This tutorial is created to guide you to quickly getting started with Three.js.
For further developments, consider reading Three.js’s official documentation or taking the course at three.js journey.
Here is the complete Source code of this tutorial.
Before you begin
(Required) Install NodeJS and npm
You need to install NodeJS first.
Windows 11:
1
$ winget install OpenJS.NodeJS.LTS
MacOS:
1
$ brew install node@20
Linux/Ubuntu:
1
$ sudo apt install nodejs
Verify that NodeJS and npm has installed successfully:
1
2
3
4
$ node --version
v22.8.0
$ npm -v
10.8.2
(Optional) Install git, VisualStudio Code
Windows 11:
1
$ winget install Microsoft.VisualStudioCode Git.Git
MacOS:
1
2
$ brew install git
$ brew install --cask visual-studio-code
Linux/Ubuntu:
1
2
3
4
5
6
$ sudo apt update
$ sudo apt install software-properties-common apt-transport-https wget
$ sudo apt install git
$ wget -q https://packages.microsoft.com/keys/microsoft.asc -O- | sudo apt-key add -
$ sudo add-apt-repository "deb [arch=amd64] https://packages.microsoft.com/repos/vscode stable main"
$ sudo apt install code
Now, you should have Git and Visual Studio Code installed. To enable support for NodeJS projects in vscode, run the following:
1
code --install-extension 1YiB.nodejs-bundle
On Windows, you need to close the current and start a new terminal window to be able to use the command above.
(Required) Terminals
You should know the basics about terminals, like mkdir, ls, and cd command.
Start a new project
Create and initialize new project folder
1. Open your terminal and execute the following commands:
1
2
3
$ mkdir threejs-helloworld
$ cd threejs-helloworld
$ npm init
2. Press enter to accept all the prompts. Your terminal should look like this:
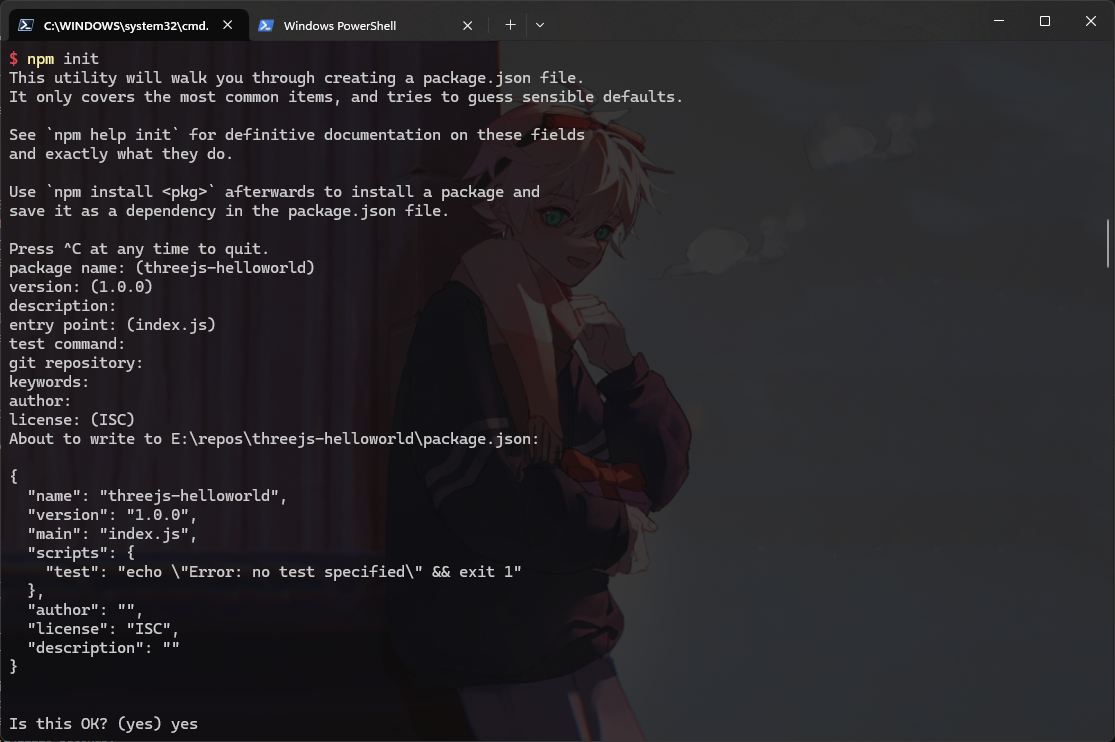
Configuring packages
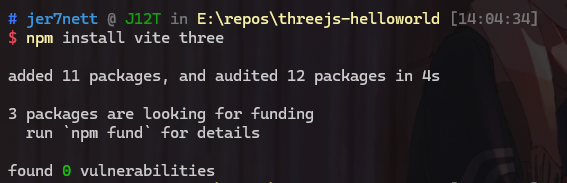
3. Now, install neccessary libraries using npm install command:
1
$ npm install vite three
The results may look like below:
First threejs webpage
4. Open vscode by the command:
1
code .
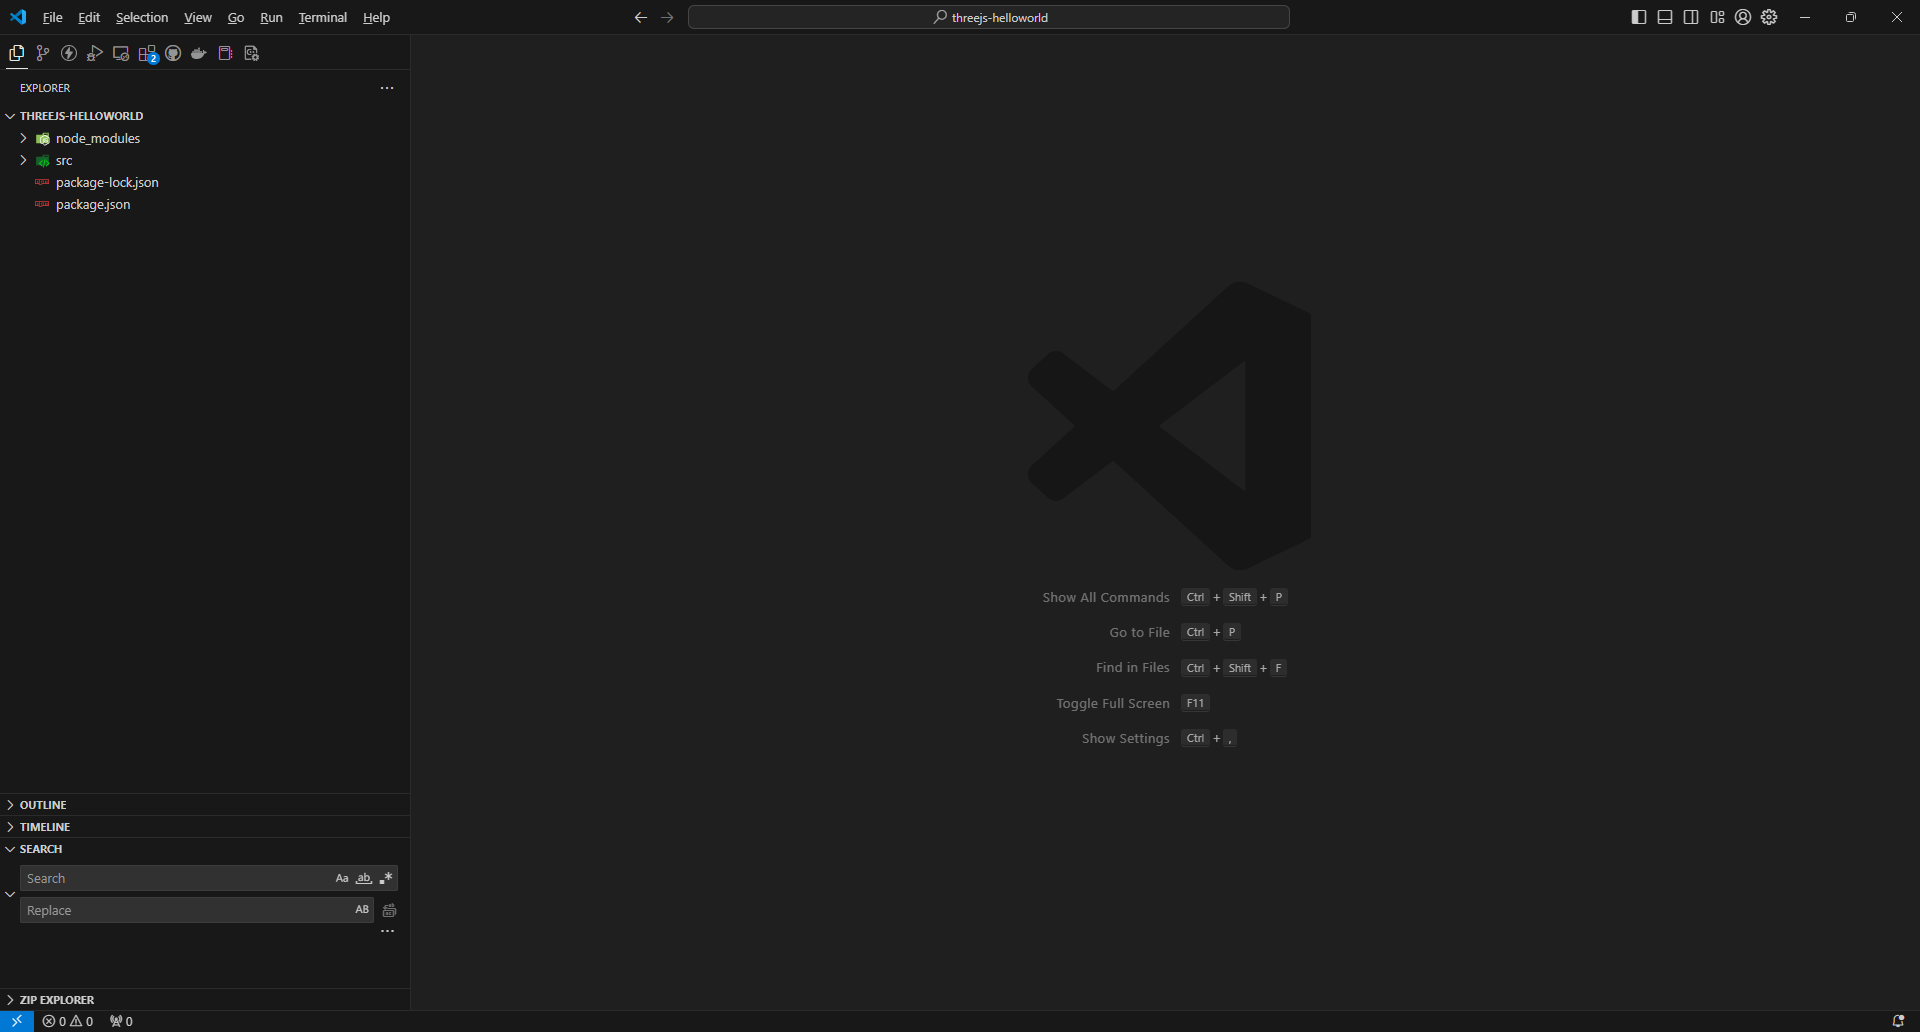
You can open
explorerright pane by View > Appearance > Primary Side Bar or using the keyboard shortcut ctrl+b.
5. Now, using Visual Studio Code, open package.json and modify the "scripts" section as follow:
1
2
3
4
5
6
7
8
9
10
11
12
{
  // ...
  // no changes
  "scripts": {
    "dev": "vite serve src",
    "build": "vite build src --outDir ../dist --emptyOutDir",
    "preview": "vite preview"
  },
  // no chages
  // ...
}
Don’t edit any other sections !!!
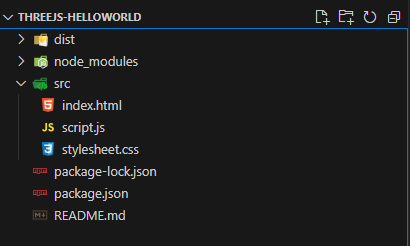
6. Then, create new folder src, then inside that create three files: index.html, script.js and stylesheet.css. The final result should look like below:
7. Open index.html and paste the following lines:
1
2
3
4
5
6
7
8
9
10
11
12
13
<!DOCTYPE html>
<html lang="en">
<head>
    <meta charset="UTF-8">
    <meta name="viewport" content="width=device-width, initial-scale=1.0">
    <title>First Three.js Project</title>
    <script type="module" src="./script.js"></script>
    <link rel="stylesheet" href="./stylesheet.css">
</head>
<body>
    <canvas class="webgl" style="position:absolute; left:0px; top:0px;"></canvas>
</body>
</html>
8. Open stylesheet.css and paste the following lines:
1
2
3
4
5
6
7
8
9
10
html, body {
  width: 100%;
  height: 100%;
  margin: 0px;
  border: 0;
  overflow: hidden;
  /*  Disable scrollbars */
  display: block;
  /* No floating content on sides */
}
9. Open script.js and paste the following lines:
1
2
3
4
5
6
7
8
9
10
11
12
13
14
15
16
17
18
19
20
21
22
23
24
25
26
27
28
29
30
31
32
33
34
35
36
37
38
39
40
41
42
43
44
45
46
47
48
49
import * as THREE from 'three'
// Canvas
const canvas = document.querySelector('canvas.webgl')

// Sizes = Window size
const sizes = {
    // width: 800,
    width: window.innerWidth,
    // height: 600
    height: window.innerHeight
}

// Scene
const scene = new THREE.Scene()

// Objects
const geometry = new THREE.BoxGeometry(1, 1, 1)
const material = new THREE.MeshBasicMaterial({ color: 0xff0000 })
const mesh = new THREE.Mesh(geometry, material)
mesh.position.x = 0
mesh.position.y = 0
mesh.position.z = 0

const geometry2 = new THREE.SphereGeometry(1,128,256)
const material2 = new THREE.MeshBasicMaterial({color: 0xffffff})
const mesh2 = new THREE.Mesh(geometry2, material2)
mesh2.position.x = 3
mesh2.position.y = 2
mesh2.position.z = 0

// Put objects to scene
scene.add(mesh)
scene.add(mesh2)

// Camera
const camera = new THREE.PerspectiveCamera(75, sizes.width / sizes.height)
camera.position.z = 5
camera.position.y = 2
camera.position.x = 1
scene.add(camera)

// Renderer
const renderer = new THREE.WebGLRenderer({
    canvas: canvas
})
renderer.setSize(sizes.width, sizes.height)

// Execute the renderer
renderer.render(scene, camera)
10. Now, run the command using the terminal:
1
$ npm run dev
The command should returns as follow:

Then head to the location in local line, in my case http://localhost:5173/ to see the results. The result should look like this:
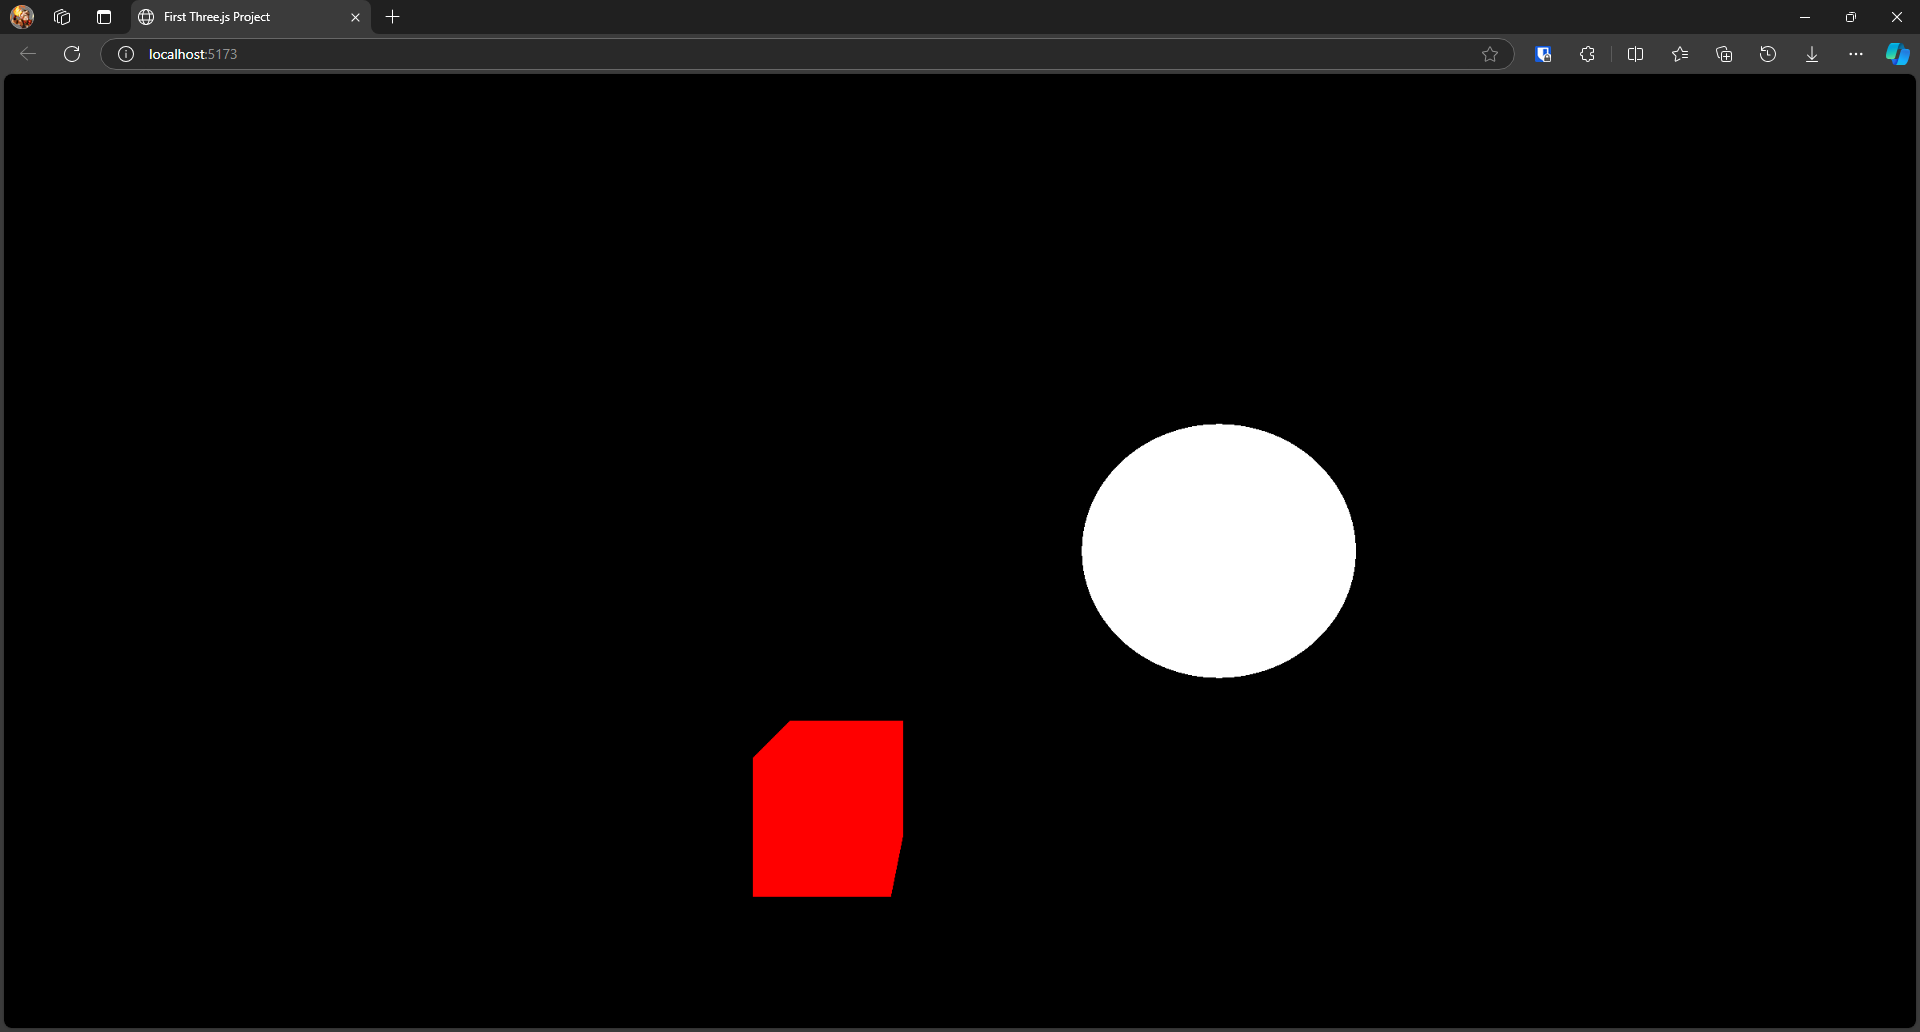
Congratulation! You have just said helloworld using three.js.
Breakdown the files
HTML file index.html
First, take a look at index.html file.
1
2
3
4
5
6
7
8
9
10
11
12
13
<!DOCTYPE html>
<html lang="en">
<head>
    <meta charset="UTF-8">
    <meta name="viewport" content="width=device-width, initial-scale=1.0">
    <title>First Three.js Project</title>
    <script type="module" src="./script.js"></script>
    <link rel="stylesheet" href="./stylesheet.css">
</head>
<body>
    <canvas class="webgl" style="position:absolute; left:0px; top:0px;"></canvas>
</body>
</html>
Here, we set the page’s title as First Three.js Project, include the stylesheet stylesheet.css file and our main logic in script.js file. In body, we have only one element is canvas, which is then used by three.js to render. This canvas is fitted into the size of the current browser window.
Script file script.js
Now, take a look at the script.js file.
1
import * as THREE from 'three'
This line is used to import the three.js library.
1
2
3
4
5
6
7
8
9
10
// Canvas
const canvas = document.querySelector('canvas.webgl')

// Sizes = Window size
const sizes = {
    // width: 800,
    width: window.innerWidth,
    // height: 600
    height: window.innerHeight
}
In these lines, we select the canvas element and define the size for the rendering logic equals to the size of the current browser window.
1
2
3
4
5
6
7
8
9
10
11
12
13
14
15
16
17
18
19
20
21
// Scene
const scene = new THREE.Scene()

// Objects
const geometry = new THREE.BoxGeometry(1, 1, 1)
const material = new THREE.MeshBasicMaterial({ color: 0xff0000 })
const mesh = new THREE.Mesh(geometry, material)
mesh.position.x = 0
mesh.position.y = 0
mesh.position.z = 0

const geometry2 = new THREE.SphereGeometry(1,128,256)
const material2 = new THREE.MeshBasicMaterial({color: 0xffffff})
const mesh2 = new THREE.Mesh(geometry2, material2)
mesh2.position.x = 3
mesh2.position.y = 2
mesh2.position.z = 0

// Put objects to scene
scene.add(mesh)
scene.add(mesh2)
Then we create the scene with two object are one $1 \times 1$ cube at position $(0,0,0)$, colored in 0xff0000 (red) and a sphrere with radius $r=1$ at position $(3,2,0)$, colored in 0xffffff (white).
1
2
3
4
5
6
// Camera
const camera = new THREE.PerspectiveCamera(75, sizes.width / sizes.height)
camera.position.z = 5
camera.position.y = 2
camera.position.x = 1
scene.add(camera)
After that, we setup the camera at position $(1,2,5)$ with $75^{\circ}$ field of view and aspect ratio equal to the aspect ratio of the current window size.
1
2
3
4
5
6
7
8
// Renderer
const renderer = new THREE.WebGLRenderer({
    canvas: canvas
})
renderer.setSize(sizes.width, sizes.height)

// Execute the renderer
renderer.render(scene, camera)
Finnally, we create a renderer, tell it to use the canvas HTML element as destination and execute the render.